Choosing your bike is only the first step. Bike touring and bikepacking require several upgrades and accessories to make doing either possible. Remember, when you are touring your bike is the transportation and it needs to carry your bedroom, kitchen, closet, and often media center.
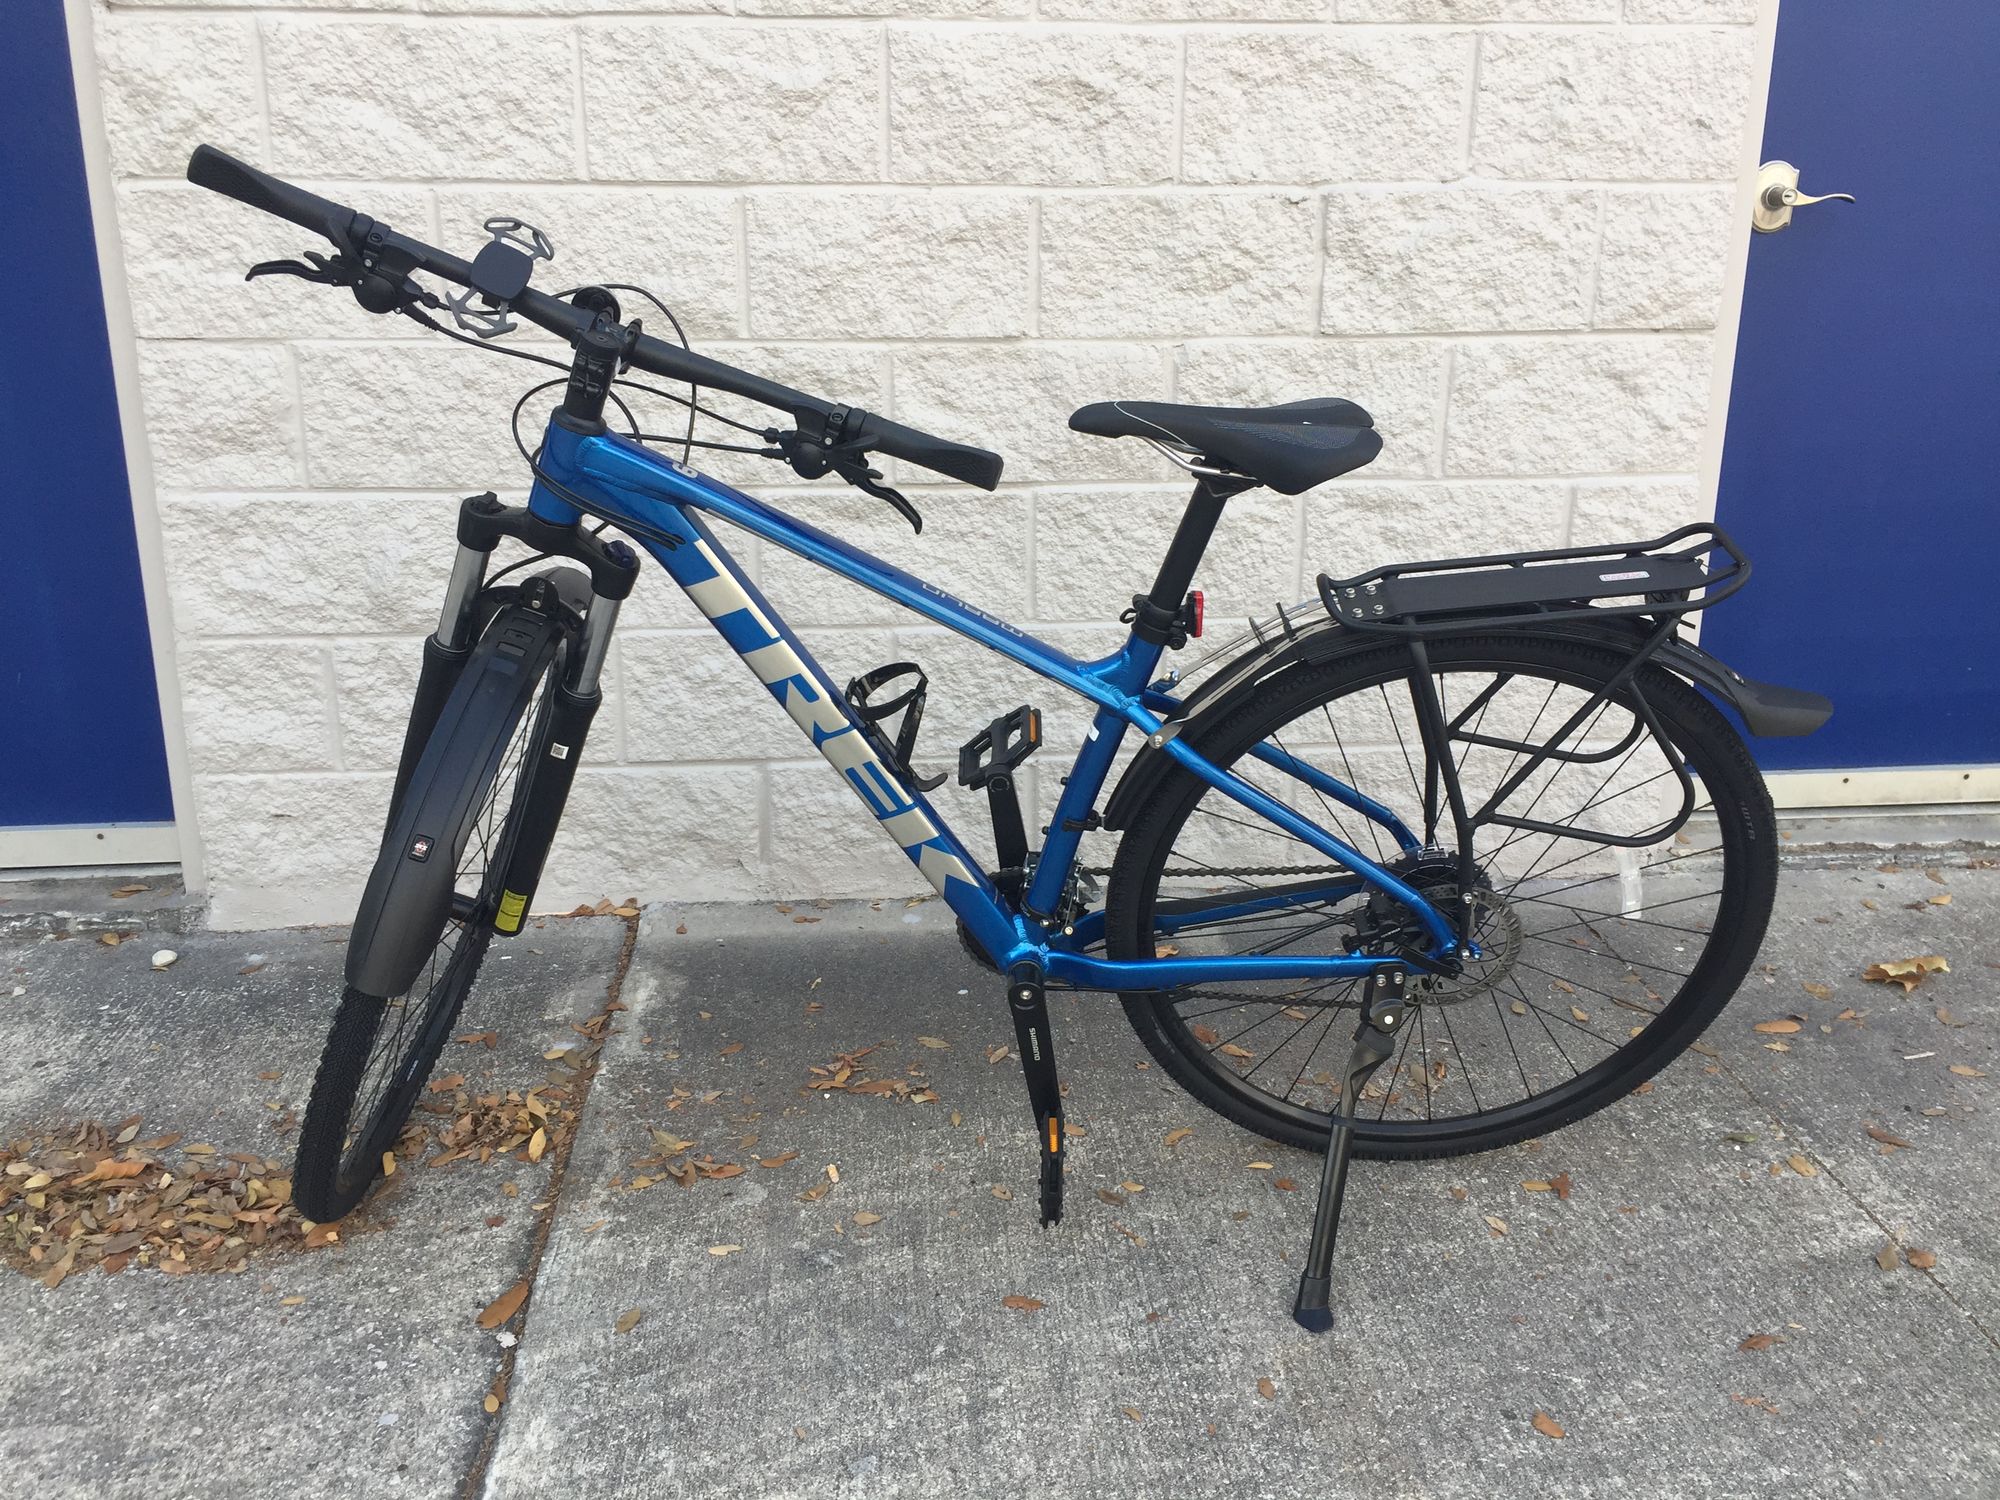
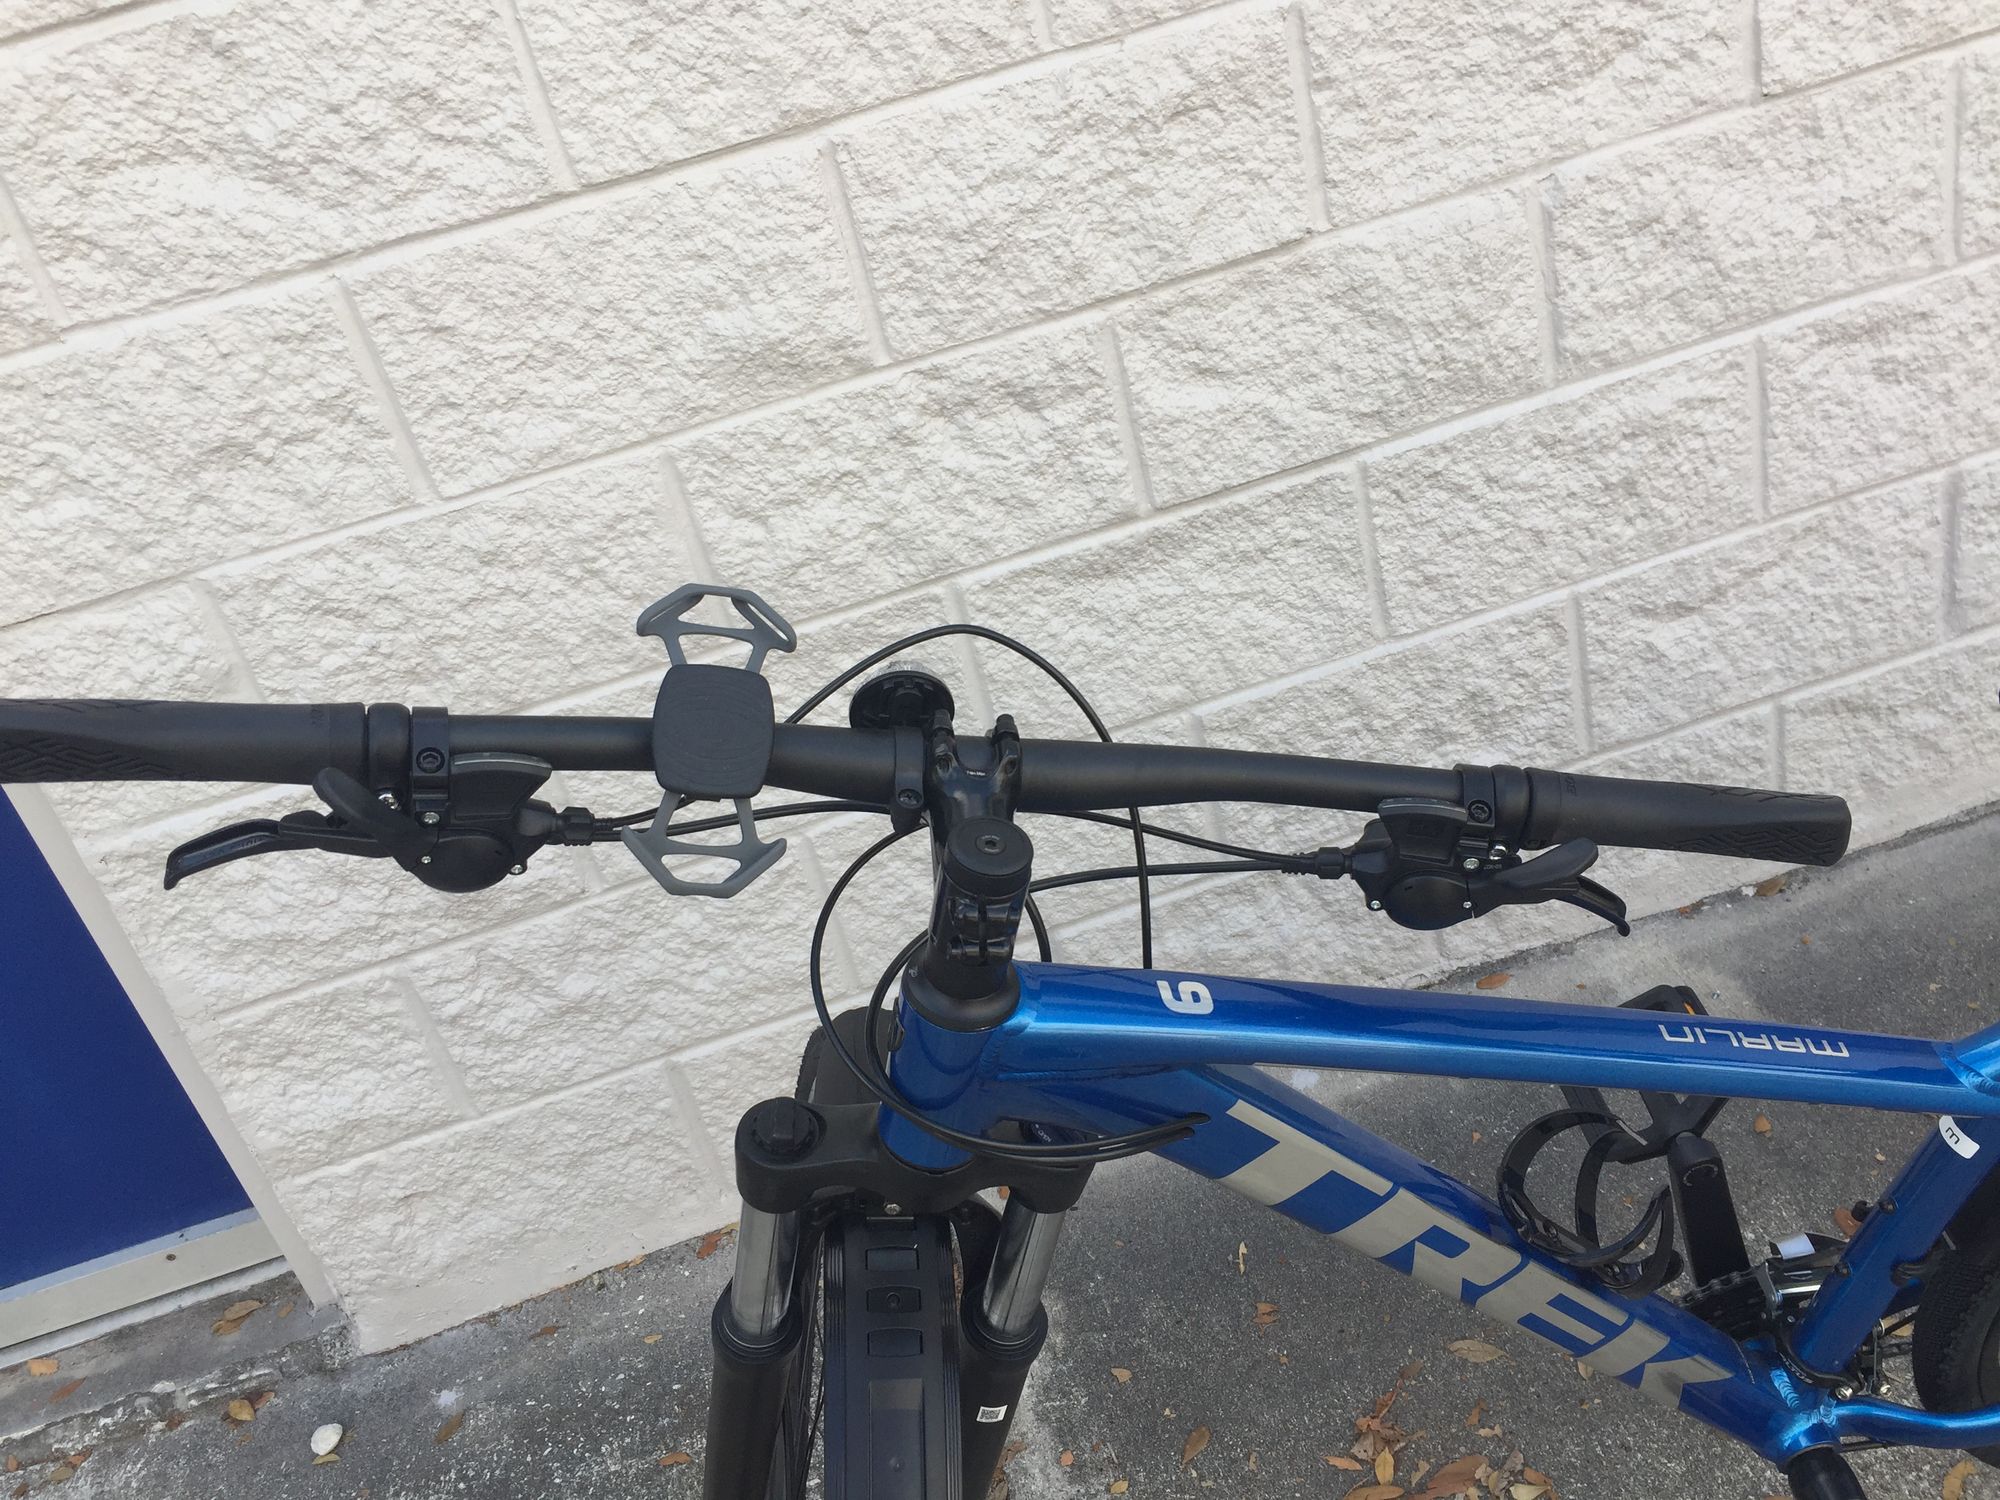
David’s Trek Marlin 5
The Trek Marlin is an entry level mountain bike. It would not have been my choice for this project, but I told David he could choose the bike he wanted, and this was it. Mountain bikes bring a few challenges in set up for touring because of how the frames and front forks can be designed.

When accessorizing your bike for a tour it is temping to begin with the bike rack. However, the most important decision is your bike seat. The seats that come with any bike you buy are perfectly fine for riding around town. If you are going to tour or bike pack over multiple days, however, then you need a better bike seat. On a long-distance bike ride the worst thing to endure is saddle sores.
There are two types of saddle sores that can occur from riding bikes. The first is just the general soreness that arises from not being used to riding for long periods of time. This is more akin to the soreness people get when hitting the gym after a protracted absence from said gym. The second type is more serious and resembles pimples or ingrown hairs on your bum. Also related to this is serious chafing in the genital area. Either is something to avoid. The first step in doing so is getting the correct seat.
The first thing to understand in making this choice is that seats with lots of padding are not the solution. As counter-intuitive as it sounds, more or thicker padding makes the seat less comfortable for long distance, not more. The reason is simple, your sit bone needs support for longer rides. So, comfort for your bum cheeks is not what a rider need.
For me and David, I went to a local bike shop, Wheel Works, to use technology to get custom fit. Many shops have various tech gadgets to help size your saddle for your body type. David sized out at 143mm, which lead to a Specialized Avatar seat. Keep in mind that Wheel Works is a specialized dealer, so the saddle choices from the sizing all focused on that brand, but once you know your size you can look up other brands that fit, besides that brand sold by the shop.
My size was quite different, even though there is only an inch in height difference between David and I with the same body type. The saddle that fit me best was the Specialized Toupe, but more on that later in the video below. It should go without saying that saddle type for men and women are wildly different for obvious reasons.
I also added suspension bike posts for each of our bikes. Bike touring often brings the rider into contact with different surfaces during a trip. Paved roads, gravel, dirt road or path, and cracked, pot holed street roads. A suspension post works just like shocks in a car. As you hit those ruts, divots, etc., the post can contract to lessen the shock on your backside. Not all tourers get them, but take my advice, get one. Your butt and whomever you usually beg for a butt massage will thank you.
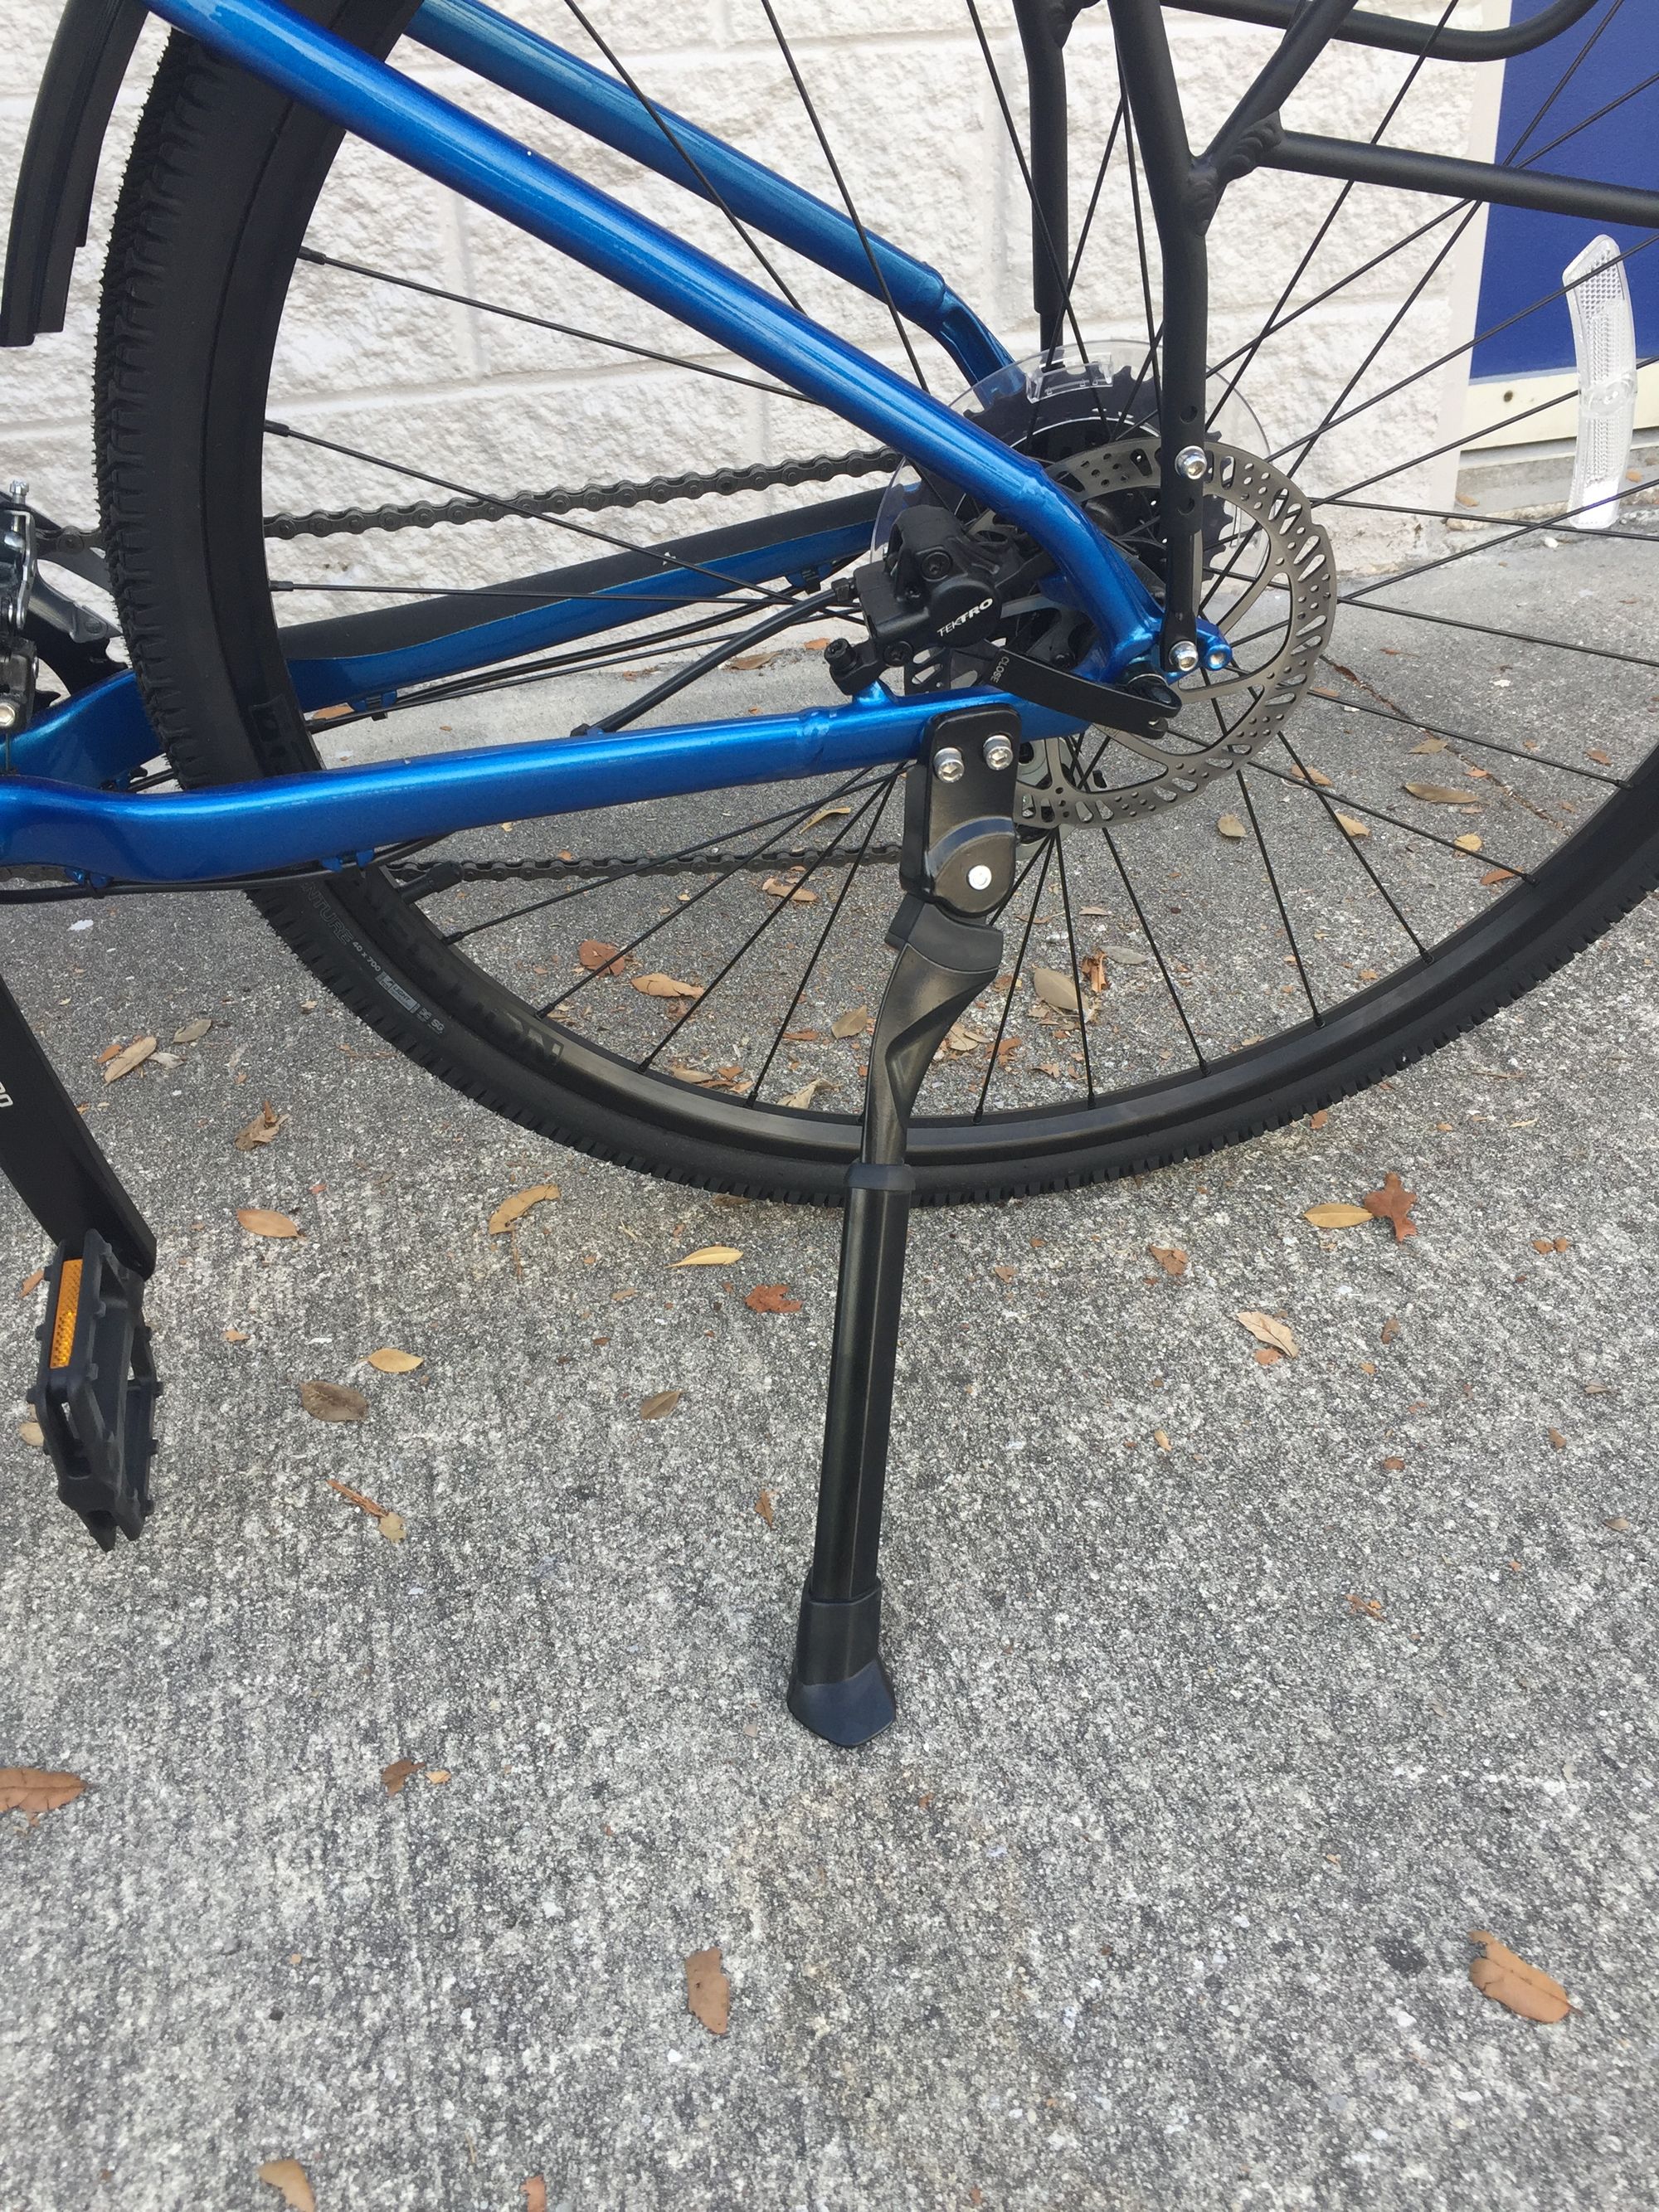
The command seat set up, I then moved on to getting the bike racks. The number of racks on the market is immense, and it often comes down to price. However, be aware of the type of bike you have. Depending on the brake system your bike uses, or frame configuration you could end up with a rack that does not fit your bike. Do not just jump on Amazon and start looking at the best prices or ratings. For David’s bike I ordered Ibera Bike Racks that fit frame sizes 26” to 29.” This allowed me to get the same rack for my bike as well. They are inexpensive and have an average rating on Amazon of five and half stars. Click the hyperlink for more information.
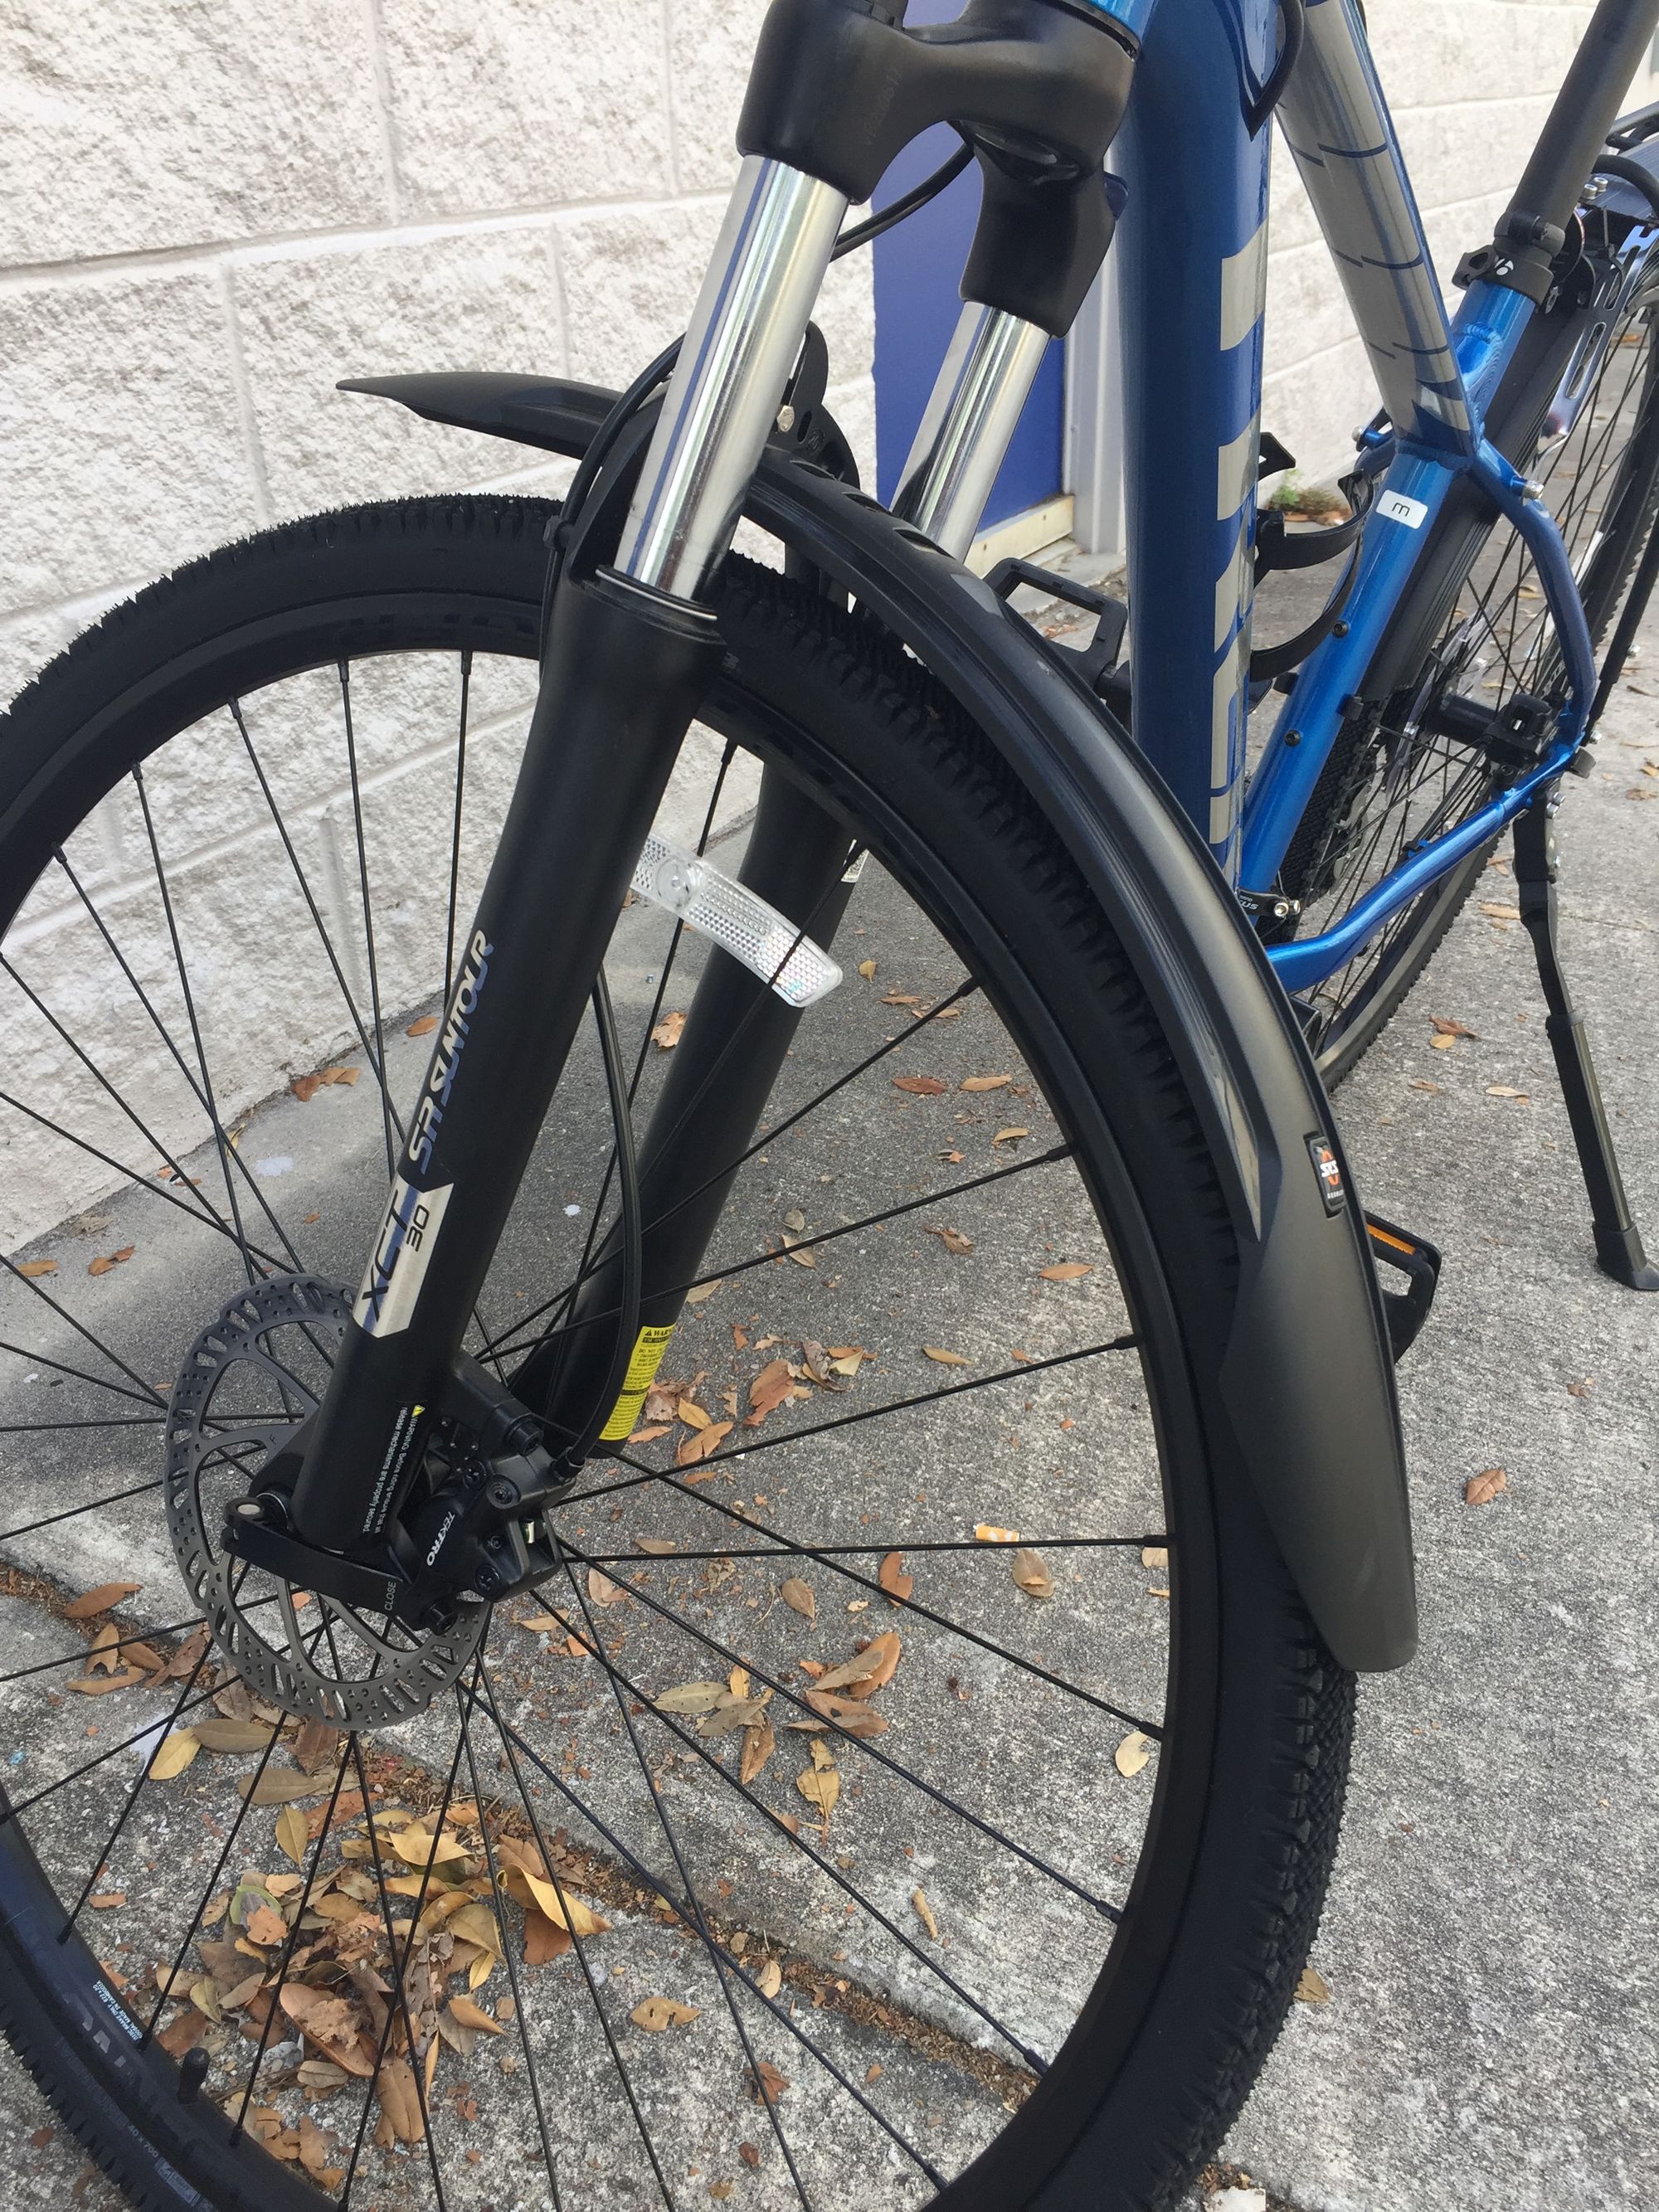
Depending on how long or the type of tour you are embarking on, you might need front racks as well. I had planned on getting them for each of us, but because David’s bike is a mountain bike with suspension forks, there are no attachments for front racks. There are several solutions to that problem. Topeak is a bike accessory company that has special cages that allow you to strap holders to the front forks to carry bags or bottles. In my case, all the items you would normally carry up front; cooking items, food, media items, etc., would all be in my pack, so David did not need to carry them. I passed on, adding anything up front for him.
The last couple of items for the build out were challenging. I wanted fenders to keep water and mud from splashing on us—really on David. Remember, I’m trying to lower as many emotional obstacles for him as possible. Mud splashing all over him is something that would put him in a poor mood. Unfortunately, I did not consider that type of bike he had and so the fenders I bought would not fit a mountain bike. The suspension forks do not have any mounting holes. It is the same reason front racks would not work. It took me some time, but I was able to find SKS Velo MTB Snap on fenders. The Bike touring and packing group on Facebook was invaluable in locating what I was looking for. If you are thinking about getting into this type of cycling or are already involved, I would join the group. The Velo’s use zip ties and wedge brackets to attach the fenders under the rear rack and front fork.
The last major change to the bike was a change in tires and tubes. I wanted something puncture resistance and tires more geared to touring. With the help of another local bike shop, David’s World Cycle, we picked some tires that worked on multiple surfaces. The biggest difference was the stock mountain bike tires were thicker and heavy than the new ones. The bike was now much quicker to ride.
David’s bike was now complete. Now all I had to do is trick my bike out. You can see what I did to my ride in the video below. If you enjoyed this break down leave a comment, and please subscribe.